Aisling's Makeover | Hair & Makeup!
My younger sister Aisling was heading out and she asked me could I do her hair and makeup! I've taken pics of each step for her hair and makeup! I hope you enjoy this blog post! Just a warning now but it is VERY LONG!
This is a Before and After pic of my sister Aisling.
The Makeup:
A picture of my setup; makeup, makeup brushes and hair extensions.
This pic is of Aisling's bare skin without any makeup or products.
 As a base, I applied Cien Moisturising Cream. For foundation, I used Maybelline Dream Satin Liquid Foundation in 020 Camel. To apply this, I used the Real Techniques Miracle Complexion Sponge. I applied the foundation on her face, I blended it down her neck and also around her hair line and on her ears.
Next, I applied Collection's Lasting Perfection Concealer in 01 Fair. I applied it in a Triangle shade from Aisling's eye down to her nose. I like to apply concealer using this method so it highlights the face and also covers any dark circles.
This concealer and the NYX concealer are my two favourite concealers. In this pic, the eye on the right has had concealer applied, the eye on the left has no concealer. You can see the difference. The cheek on the right, is highlighted and flawless.
In this pic, concealer has been applied to both undereyes. You can see the face looks highlighted.
 I like to let the foundation and concealer set after I apply them. I like to fill in the eyebrows next. To fill in Aisling's eyebrows, I used a matte light brown shade (circled in pic) from the NYX Butt Naked Eyes Palette. It was a very natural shade.
To set the eyebrows in place, I like to apply a gel. I used the Rimmel London Brow This Way Brow Gel in Medium Brown to her eyebrows.
I then moved onto the right eyebrow. I followed the exact same steps as the left eyebrow.
Here's a pic of the eyebrows finished with the eyeshadow powder and brow gel. The eyebrows look defined. Eyebrows are very important because they frame your eyes.
I like to let the foundation and concealer set after I apply them. I like to fill in the eyebrows next. To fill in Aisling's eyebrows, I used a matte light brown shade (circled in pic) from the NYX Butt Naked Eyes Palette. It was a very natural shade.
To set the eyebrows in place, I like to apply a gel. I used the Rimmel London Brow This Way Brow Gel in Medium Brown to her eyebrows.
I then moved onto the right eyebrow. I followed the exact same steps as the left eyebrow.
Here's a pic of the eyebrows finished with the eyeshadow powder and brow gel. The eyebrows look defined. Eyebrows are very important because they frame your eyes.
For an eyeshadow base I used the Essence I Love Stage Eyeshadow Base. This is a great affordable eyeshadow base. Eyeshadow bases ensure that the eyeshadows don't fade throughout the day.
Using a large fluffy brush, I applied a light brown matte shadow (circled in pic) from the w7 In The Buff Eyeshadow Palette. I applied this in the crease and above the crease. I applied this as the transition shade. Transition shades are applied to make it easier to blend when you add the other eyeshadows. It also helps to define the crease.
Here's a pic of the transition shade on both eyes.
 Using a flat brush, I applied a gold shade to the lid. I ensured to apply the gold shade only to the lid, not on the crease or above the crease. I used the gold shade (circled in pic) from the W7 In The Buff Palette.
I applied this gold shade by patting the brush onto the lid. I didn't wipe the brush on the lid. Patting the eyeshadow ensures the least amount of fallout from the eyeshadow and gets the best pigmentation from the shadow.
Here's a pic of the gold eyeshadow finished on both lids.


To darken the crease I applied a warm deep matte brown (circled in pic) from the W7 Eyebrow Palette. I used a fluffy blending brush. I applied this into the crease but not above the crease like the transition shade.

Using a smaller blending brush, I applied a darker matte brown into the outer crease. I used another shadow from the W7 Eyeshadow Palette.
I apply this shadow to the outer crease to darken the look. Also apply this shadow in a 'V' shape, bring it into the outer lash line slightly.
Here's a pic of the completed look so far.

Using the matte black shadow from the same W7 palette, I applied it in a '>' shape on the left eye and '<' shape on the right eye. I used a small Essence pencil brush to apply this shadow.
I apply shimmery shadows to the lid and matte shadows to the crease. I apply shadow like this because when pictures are taken of the makeup, it can look overwhelming if you apply shimmery shadows to the crease. Apply this matte black shadow to the outer V slowly, bit by bit.
Here's a pic of the look so far.

 In this pic, I am using a fluffy blending brush and the matte light brown shadow from the W7 In The Buff Palette to blend the look. I am blending the edge of the shadows, blending into and above the crease.
Here's a pic of the look so far.
To further blend the eyeshadows, I applied a matte light orange shade above the crease. I applied this with a small blending brush.
I apply a light orange shade to act as a transition between the crease and the brow bone. It also gives the look a smokey effect and it looks less harsh.
Here's a look at the look after the orange shadow was applied.

 As a highlight, I applied a matte cream shadow from the Nyx Butt Naked Eyes Palette. I applied it with a flat brush to the brow bone and inner tear duct.
I applied a gold glitter liquid eyeliner to the lower lashline. I applied this liner from the inner tearduct to the middle of the pupil.
I used a NYC Liquid Eyeliner in black and created a thin winged line.
To set Aisling's foundation, I used an Urban Decay Surreal Skin Mineral Makeup with a fluffy powder brush. I patted the powder on her face and then blended it in with the fluffy brush.
I LOVE to contour! To contour Aisling's face, I used Sleek's Contour Kit in Medium. To contour, I used a Real Techniques Blush Brush.
I like to contour underneath the cheek bones, on the temples and along the jaw line.
Contouring enhances your features. It adds dimension to your face and also colour.
I applied Art Deco's blush in 44. This is my FAVOURITE blush! I applied the blush with a Real Techniques Stipple Brush. I pat the blush from the hair line towards the apple of the cheek. Then I blend the blush.
Here's a pic of the look so far with the blush.
To darken the eyes even more, I applied NYX's Jumbo Eye Pencil in Black Bean to the tightline (waterline of the upper lashes) and also the waterline. Jumbo Eye Pencils have excellent pigmentation but to ensure they last, I patted a matte black shadow with a pencil brush on top of the waterline.
Here's a look at the makeup so far.
Aisling applied her own mascara.
Aisling's eyelashes were bought in Penneys. I had to trim the eyelashes to fit Aisling's eyes. I used Kiss's eyelash glue.
I wrap the band of the lashes around my finger to bend the band so that the lashes will fit the the eye better. I applied the glue to the band of the lashes. I let this glue set for about 30 seconds because I feel like they stick better when the glue gets tacky.
Here's a closer look of the lashes on Aisling's eyes.
On Aisling's lips I used Rimmel London Kate Moss Lipstick in 101.
This is a picture of Aisling's completed makeup.


The Hair:
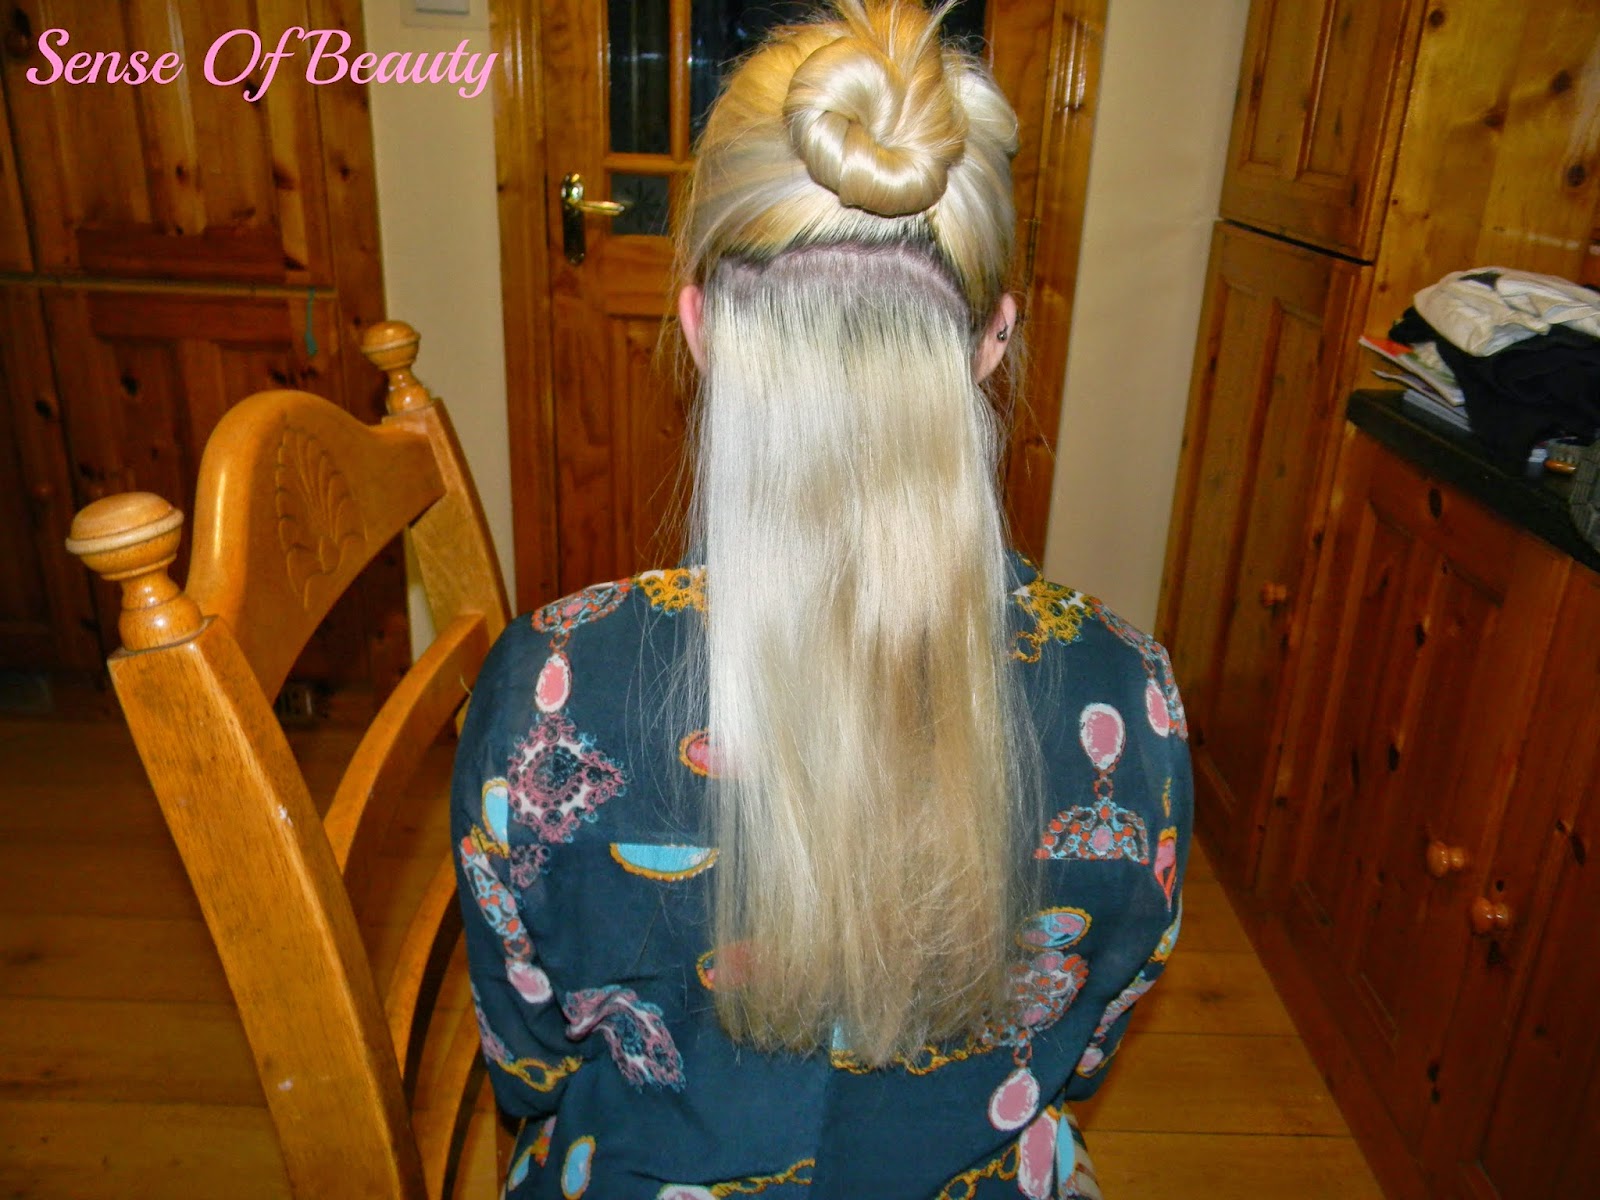
Aisling's hair before it was styled. Aisling isn't wearing hair extensions in this pic.
I like to curl hair in sections. I start from the bottom and work my way up. I find it easier to curl in sections because it ensures you do not miss any pieces of hair.
To curl Aisling's hair, I used a Babyliss Glamour Waves Curler. I ensured I always curled away from the face. I used a Boots Hairspray in Maximum Hold.
I continued using the same routine for the rest of Aisling's hair.
The finished look:
I hope you enjoyed this SUPER long blog post!
Thanks for stopping by!
Next blog post will be posted Wednesday!
Love,
Siobhán xo


No comments:
Post a Comment