
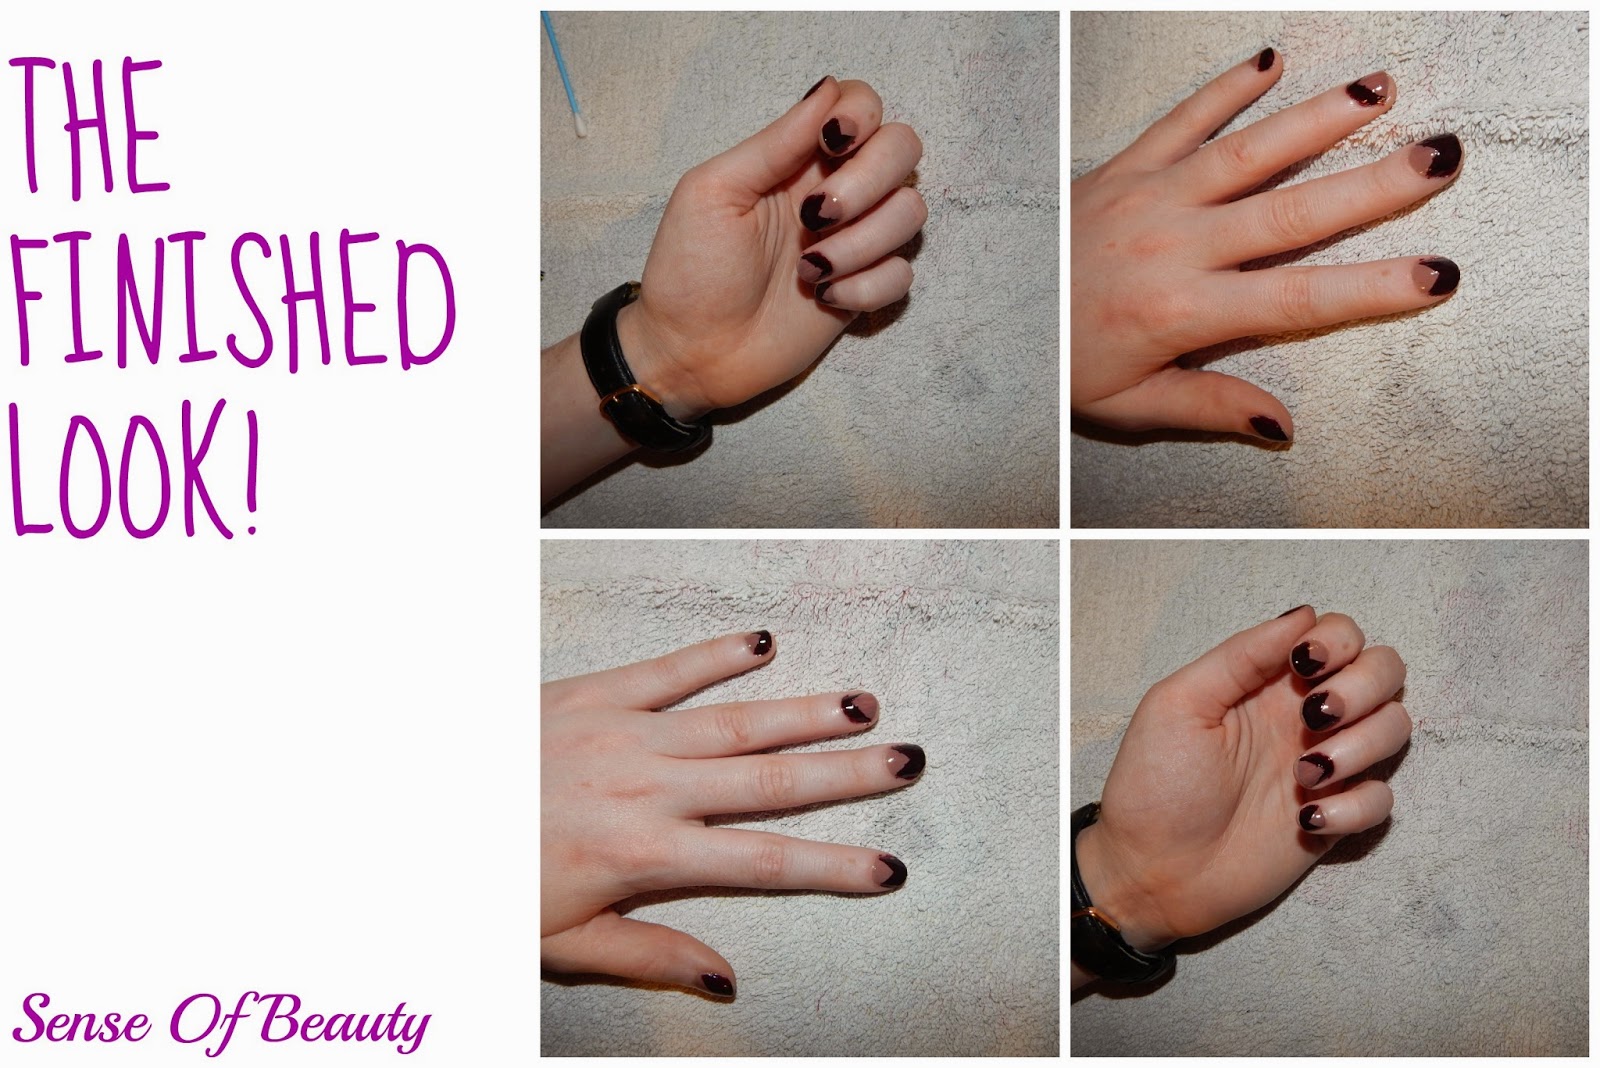
Hello Lovlies! Welcome back to Sense Of Beauty! Today's blogpost will be a two-parter! First part will be a Geometric Nail Art Tutorial and the Second Part will be a look into what I purchased in Boots recently!
Let's get started with the Geometric Nail Art Tutorial!

What you'll need:
-Nail Polish Remover (Mine is from the €2 shop)
-Cotton Wool Pads (Lidl)
-Nail Clippers
-Nail File
-Base Colour (Nude)
-Darker Colour (Maroon)
-Top Coat
-Sellotape
-Cotton Buds (Lidl)

Step One is pretty straight forward. Using a Cotton Wool Pad and Nail Polish Remover, remove your nail polish. The Nail Polish Remover I am using was €1.50. It was purchased in the €2 Shop. The Cotton Wool Pads were bought in Lidl. They're super cheap and cheerful!

Step Two involves you using a Nail Cutter/Trimmer and trimming your nails. If you don't want to trim any length off your nails, you can skip this step.

Step Three involves you filing your finger nails with a nail file. Filing your nails will buff the edges of your nails and make them smooth and evenly-shaped.

Apply your base coat in Step Four. Use a colour that is lighter than your darker shade. Apply one even coat on all of your finger nails. If the nail polish isn't opaque, apply a second coat.

Here's some information on the base nail polish I bought. I purchased this in PoundLand Enniskillen for ONL £1!! I only used one coat of this nail polish and the pigmentation of the nail polish is excellent!

Here's a closer look at the base nail polish! I LOVE IT!

To create the Geometric design, I used sellotape. To prepare the sellotape, I cut an inch sized section and apply it to the back of my hand. I apply it to the back of my hand and remove it a few times, this is to remove the tackiness from the sellotape.

Place the sellotape at the bottom of your nail with the corner pointing up. On my ring finger, I placed the sellotape on the opposite side of your nail, on the tip. Ensure you applied the sellotape tight to your nails. Make sure your base coat is fully dry before you apply your sellotape.

Apply a darker shade to your nail. You can apply this colour messy because the sellotape will ensure it is neat and tidy.

I used a maroon shade of nail polish by Nails Inc. London. The shade is in Victoria. I did have to apply 2 shades of this nail polish to ensure it was fully opaque.


Apply a Top Coat to your nails. I used NYC Expert Last Nail Polish in 138 Classy-Glassy.

Using a cotton bud and nail polish remover, clean the edges of your nails.
Boots Haul Time!!


I hope you've enjoyed this post!
Of course, the colours used in the nail tutorial can be changed to your desired colours!
Thanks for stopping by!
Much Love,
Siobhán xo
No comments:
Post a Comment